-
 Speaker stands for Sierra's?
I apologize if this has been addressed elsewhere here...I thought I'd seen it but can't find it now. What stands are pictured with the Sierra's under product summary: http://www.ascendacoustics.com/pages.../srm1summ.html
I think they match both finishes pretty nicely.
-
 Make your own stands out of 4" PVC and toilet flanges
.....then find some nice 3/4" oak and make 6" x 6" squares and apply oil finish..... then attatch one flange to the squares....attatch the other flange to a premade 18-24" x 1" wooden circle for a base. Cut the 4" PVC tube to whatever length you want for the height....insert tube into the receiving flange and circle base..... Paint the whole thing with Gold/Cream Antique Crakle paint finish and seal with clear coat. Take expandable foam and fill tube to kill resonance. You'll have something that looks like an ancient classy Greek column to set your speakers on. Cost $160. Paint and primer are the most expensive part. I can give you more details if you wish.
-
Can you post some pictures of yours?
-
Copied and pasted from another thread...
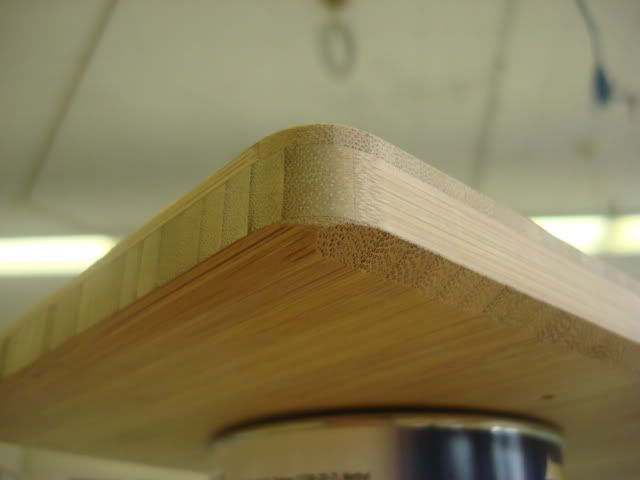
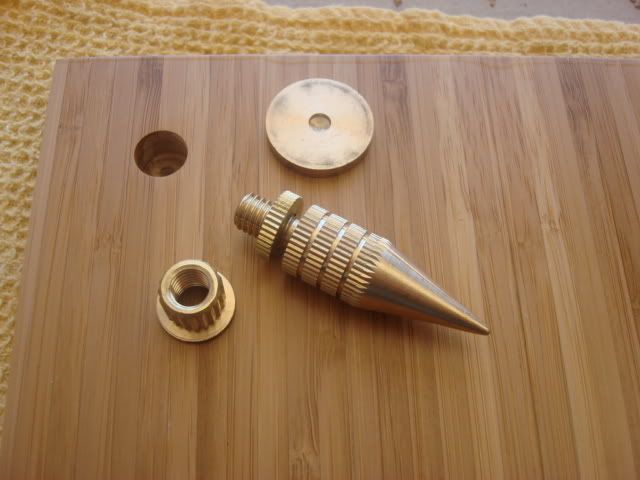
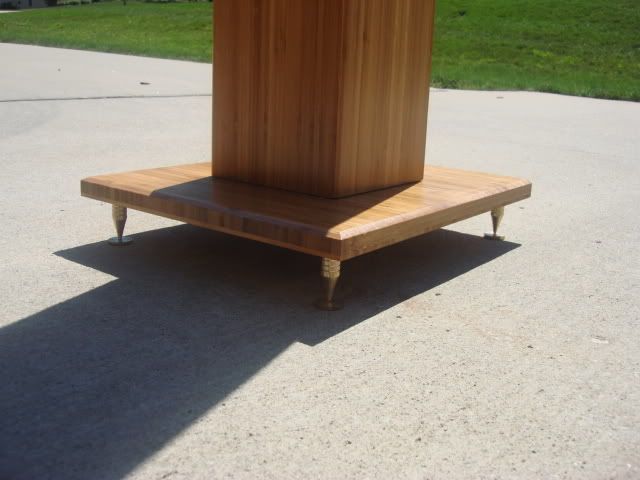
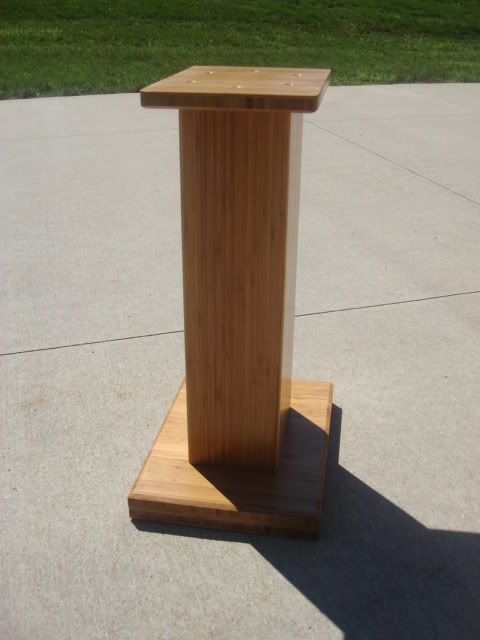
I figured I'd take an opportunity to post some pics of the most recent batch of stands that I just finished and shipped yesterday. A couple of differences on round 2: I finished the stands with a semi-gloss clear lacquer (which is what Dave F said that is used on the Sierras) instead of tung oil. The results are, in my opinion, perfect. Also, I followed another forum member's suggestion and tried GR Research spikes and love them. They're a bit more money, but definitely a superior product. Also, I rounded over the front corners of the top plate to match the profile of the baffle on the Sierra. Finally, I added a solid block in the bottom of the columns and glued and caulked it in so that when adding sand, there isn't any concern about the connection between the column and the base.
On with the pics:
Roundover on the top plate:
New spikes:
Spikes mounted:
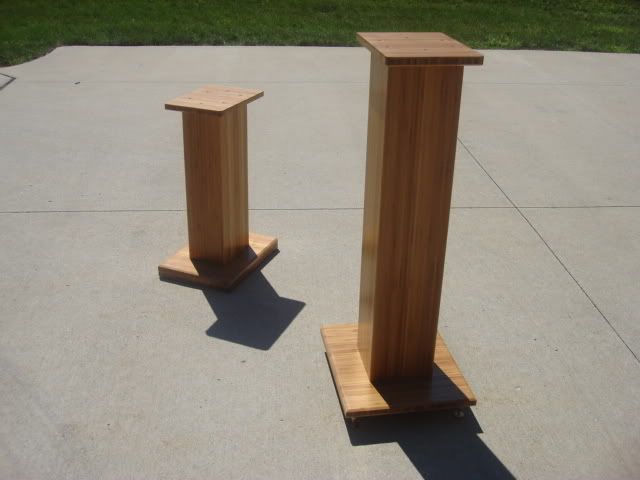
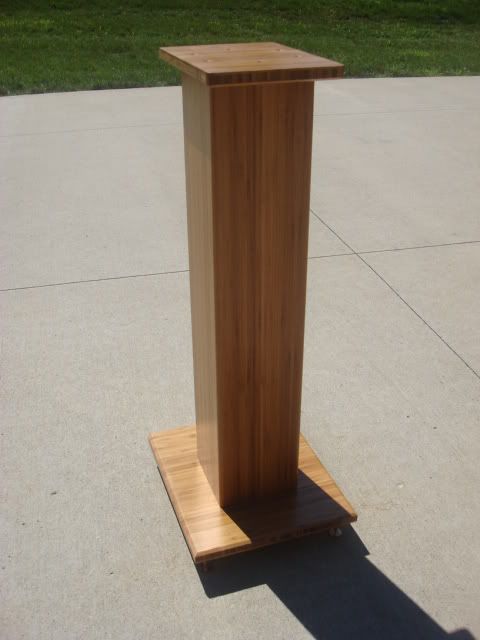
One of the short stands and one of the tall stands:
Pic of one of the short stands:
Pic of one of the tall stands:
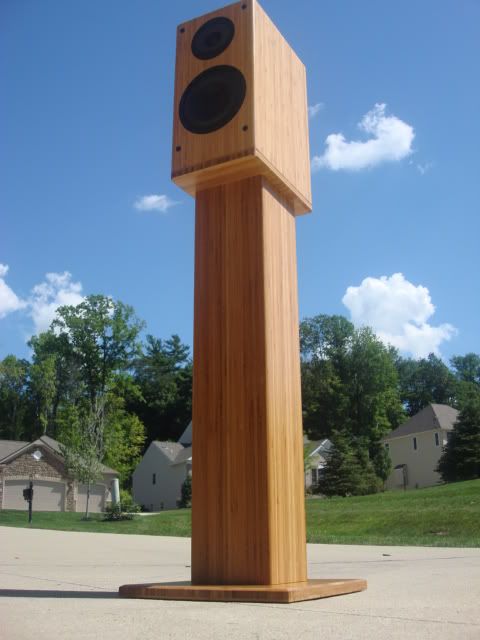
Pic with speaker:
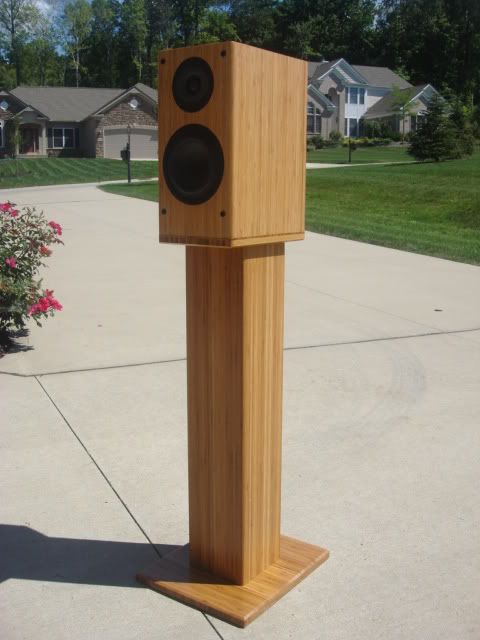
Pic with speaker no grille:
Shipping has been between $35 and $55 depending on size, weight, and destination.
PM or email interest to vikingdwarf@gmail.com
J.
-
I can vouch for Jason's stands...I love the pair he made for me:

-curtis
-
Thanks! I'll have pics up of the next batch this weekend.
J.
-
I don't have a digital camera yet so I'll have to snap a picture and scan it in. I can "paint" a better picture in your mind in the mean time if you ask me some questions.
The 4" pvc tube can be filled with anything (sand, shot, foam or a combo of each.).
List of materials all from LOWES:
1) 5 ft. of (4" pvc pipe) from LOWES
2) Qty.4 of the (4" toilet flanges) at LOWES
3) Qty.2 of the (22" x 1 1/2") round pine "circles" at LOWES (or make your own or make the bases square
4) Qty. 1-- (3/4" x 2ft. Red Oak board) from LOWES
5) 2 cans clear coat enamel
6) 2 cans light grey primer
7) 2 packages of gold/cream crackle paint finish (4 cans)
8) Qty. 16 Lag bolts/screw (to screw flanges to base and squares)
9) 1 small can/bottle of oil finish to rub on squares and/or base (if not painting)
10) 1 sm can pvc glue to glue tube to flange (you can press fit and skip this)
11) 1 package non skid shelving liner (to place underneith speaker)
12) 1 can expandable foam (LOWES)
You can save big money just painting stands a single color and making to bases square and doing this yourself. Otherwise it's $32 for the circles and 13.95 per crackle paint kit.
You can vision this thing in your head it you go to LOWES and start looking at the materials I'm talking about. I have few tools and lived in an apartment at the time. It's screw, glue, spray, wipe, and snape together. Fun Project that just looks so classy with the crackle paint. To get the large crackle appearance you have to use several coats of gold bottom coat so the top cream crackle coat opens large fissures. It starts to "crackle" in 30 seconds so lay on the crackle thick but keep the can moving to avoid runs. Hope you have fun with this one. I'll try and post pics within next 2 weeks.
-
Details on Crackle finish speaker stands.
I don't have a digital camera yet so I'll have to snap a picture and scan it in. I can "paint" a better picture in your mind in the mean time if you ask me some questions.
The 4" pvc tube can be filled with anything (sand, shot, foam or a combo of each.).
List of materials all from LOWES:
1) 5 ft. of (4" pvc pipe) from LOWES
2) Qty.4 of the (4" toilet flanges) at LOWES
3) Qty.2 of the (22" x 1 1/2") round pine "circles" at LOWES (or make your own or make the bases square
4) Qty. 1-- (3/4" x 2ft. Red Oak board) from LOWES
5) 2 cans clear coat enamel
6) 2 cans light grey primer
7) 2 packages of gold/cream crackle paint finish (4 cans)
8) Qty. 16 Lag bolts/screw (to screw flanges to base and squares)
9) 1 small can/bottle of oil finish to rub on squares and/or base (if not painting)
10) 1 sm can pvc glue to glue tube to flange (you can press fit and skip this)
11) 1 package non skid shelving liner (to place underneith speaker)
12) 1 can expandable foam (LOWES)
You can save big money just painting stands a single color and making to bases square and doing this yourself. Otherwise it's $32 for the circles and 13.95 per crackle paint kit.
You can vision this thing in your head it you go to LOWES and start looking at the materials I'm talking about. I have few tools and lived in an apartment at the time. It's screw, glue, spray, wipe, and snape together. Fun Project that just looks so classy with the crackle paint. To get the large crackle appearance you have to use several coats of gold bottom coat so the top cream crackle coat opens large fissures. It starts to "crackle" in 30 seconds so lay on the crackle thick but keep the can moving to avoid runs. Hope you have fun with this one. I'll try and post pics within next 2 weeks.
-

Originally Posted by
shawnpwatson

.....Cost $160....
For about 1.5 that cost, I'll build custom to your specs. Just a thought...not trying to steal any thunder, but that seems like a lot of cheese for a DIY project.
J.
-
Jason, your stands are stunning.........
Jason,
Boy you really do beautiful work by the looks of those pictures.
The PVC speaker stand project is for someone that doesn't have alot of skills, or tools, or work space, but wants the fun of a quick beautiful DIY project. It's about the fun of DIY.
If I wasn't in such a hurry I could have shopped around for cheapter paint on the internet or gone with a square base. I'm guessing I could have done it for less, but I'm particular. I used 2 coats of primer, 3 coats of gold undercoat , 1 coat of crackle, and 2 coats of clear enamel,... for a total of 8 coats of paint. That's why the project got expensive. It wasn't the PVC, or the Wood that's for sure.
Shawn
 Posting Permissions
- You may not post new threads
- You may not post replies
- You may not post attachments
- You may not edit your posts
-
Forum Rules


